
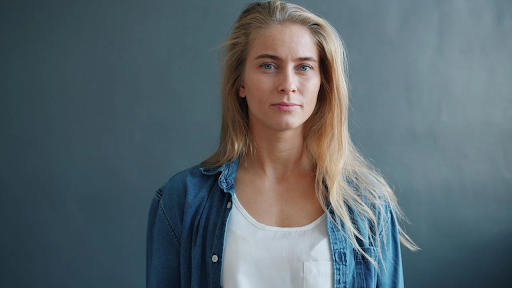
Portrait enhancement done well is one of the hardest things to notice — and that’s exactly the point. The best-retouched portraits don’t announce themselves. They just look like a great photo of a person who happened to be well-lit, well-rested, and photographed at the right moment. Achieving that requires a clear understanding of where enhancement helps and where it starts working against you.
Using a thoughtful face editor approach means knowing not just what to adjust, but what to leave completely alone — because restraint is what keeps portrait retouching on the right side of natural.
What “Natural Look” Actually Means in Retouching
Natural doesn’t mean unedited. It means the subject looks like a genuine, living person rather than a smoothed-out approximation of one. Skin has texture. Eyes have depth. Faces have asymmetry and character. Portrait enhancement that preserves these qualities while improving lighting, evening tone, and reducing distractions produces results that hold up — both aesthetically and over time.
The opposite approach — maximum smoothing, aggressive brightening, symmetry correction — produces photos that look impressive in a thumbnail and unconvincing at any closer inspection. More importantly, they often stop looking like the person, which defeats the purpose of a portrait entirely.
Light First, Edit Second
The most effective portrait enhancement happens before the editing stage. Soft, directional light from a window or a diffused source does more for skin quality than any retouching tool. It wraps around facial contours naturally, reduces harsh texture shadows, and produces even tone that requires minimal correction afterward.
If you’re shooting in difficult light — harsh midday sun, mixed indoor sources, direct flash — the editing workload increases significantly and the results are harder to make convincing. Getting the light right at the source means the edit becomes a refinement rather than a rescue operation.
The Areas Worth Adjusting
Not all portrait retouching carries equal weight. Some adjustments produce significant improvement for minimal risk of over-editing:
- Skin tone evening — correcting uneven redness or blotchiness without flattening natural variation reads as a clean, professional improvement. The key is targeting specific areas rather than applying a global correction.
- Under-eye brightening — lightening dark circles moderately makes the subject look rested and present. Overdoing it produces a hollow, unnatural look that’s immediately obvious.
- Catchlights in the eyes — slightly enhancing the natural light reflection in the eyes adds life to a portrait without touching anything that reads as obviously retouched.
The Areas to Leave Alone
Expression lines around the eyes and mouth, natural facial asymmetry, distinctive features, and skin texture are all worth preserving. These aren’t flaws — they’re what makes the face recognizable and real. Removing them produces a portrait that looks generically attractive rather than specifically like the person being photographed.
Knowing When to Hand It to a Professional
Self-editing portrait photos requires stepping back regularly and evaluating the result with fresh eyes — which is harder than it sounds when you’ve been staring at the same image. RetouchMe offers a practical alternative: professional retouchers who handle each photo manually, apply corrections with consistent judgment, and deliver results that look polished without looking processed. For portraits that will be used professionally or kept long-term, that outside perspective consistently produces better outcomes than self-editing alone.
