
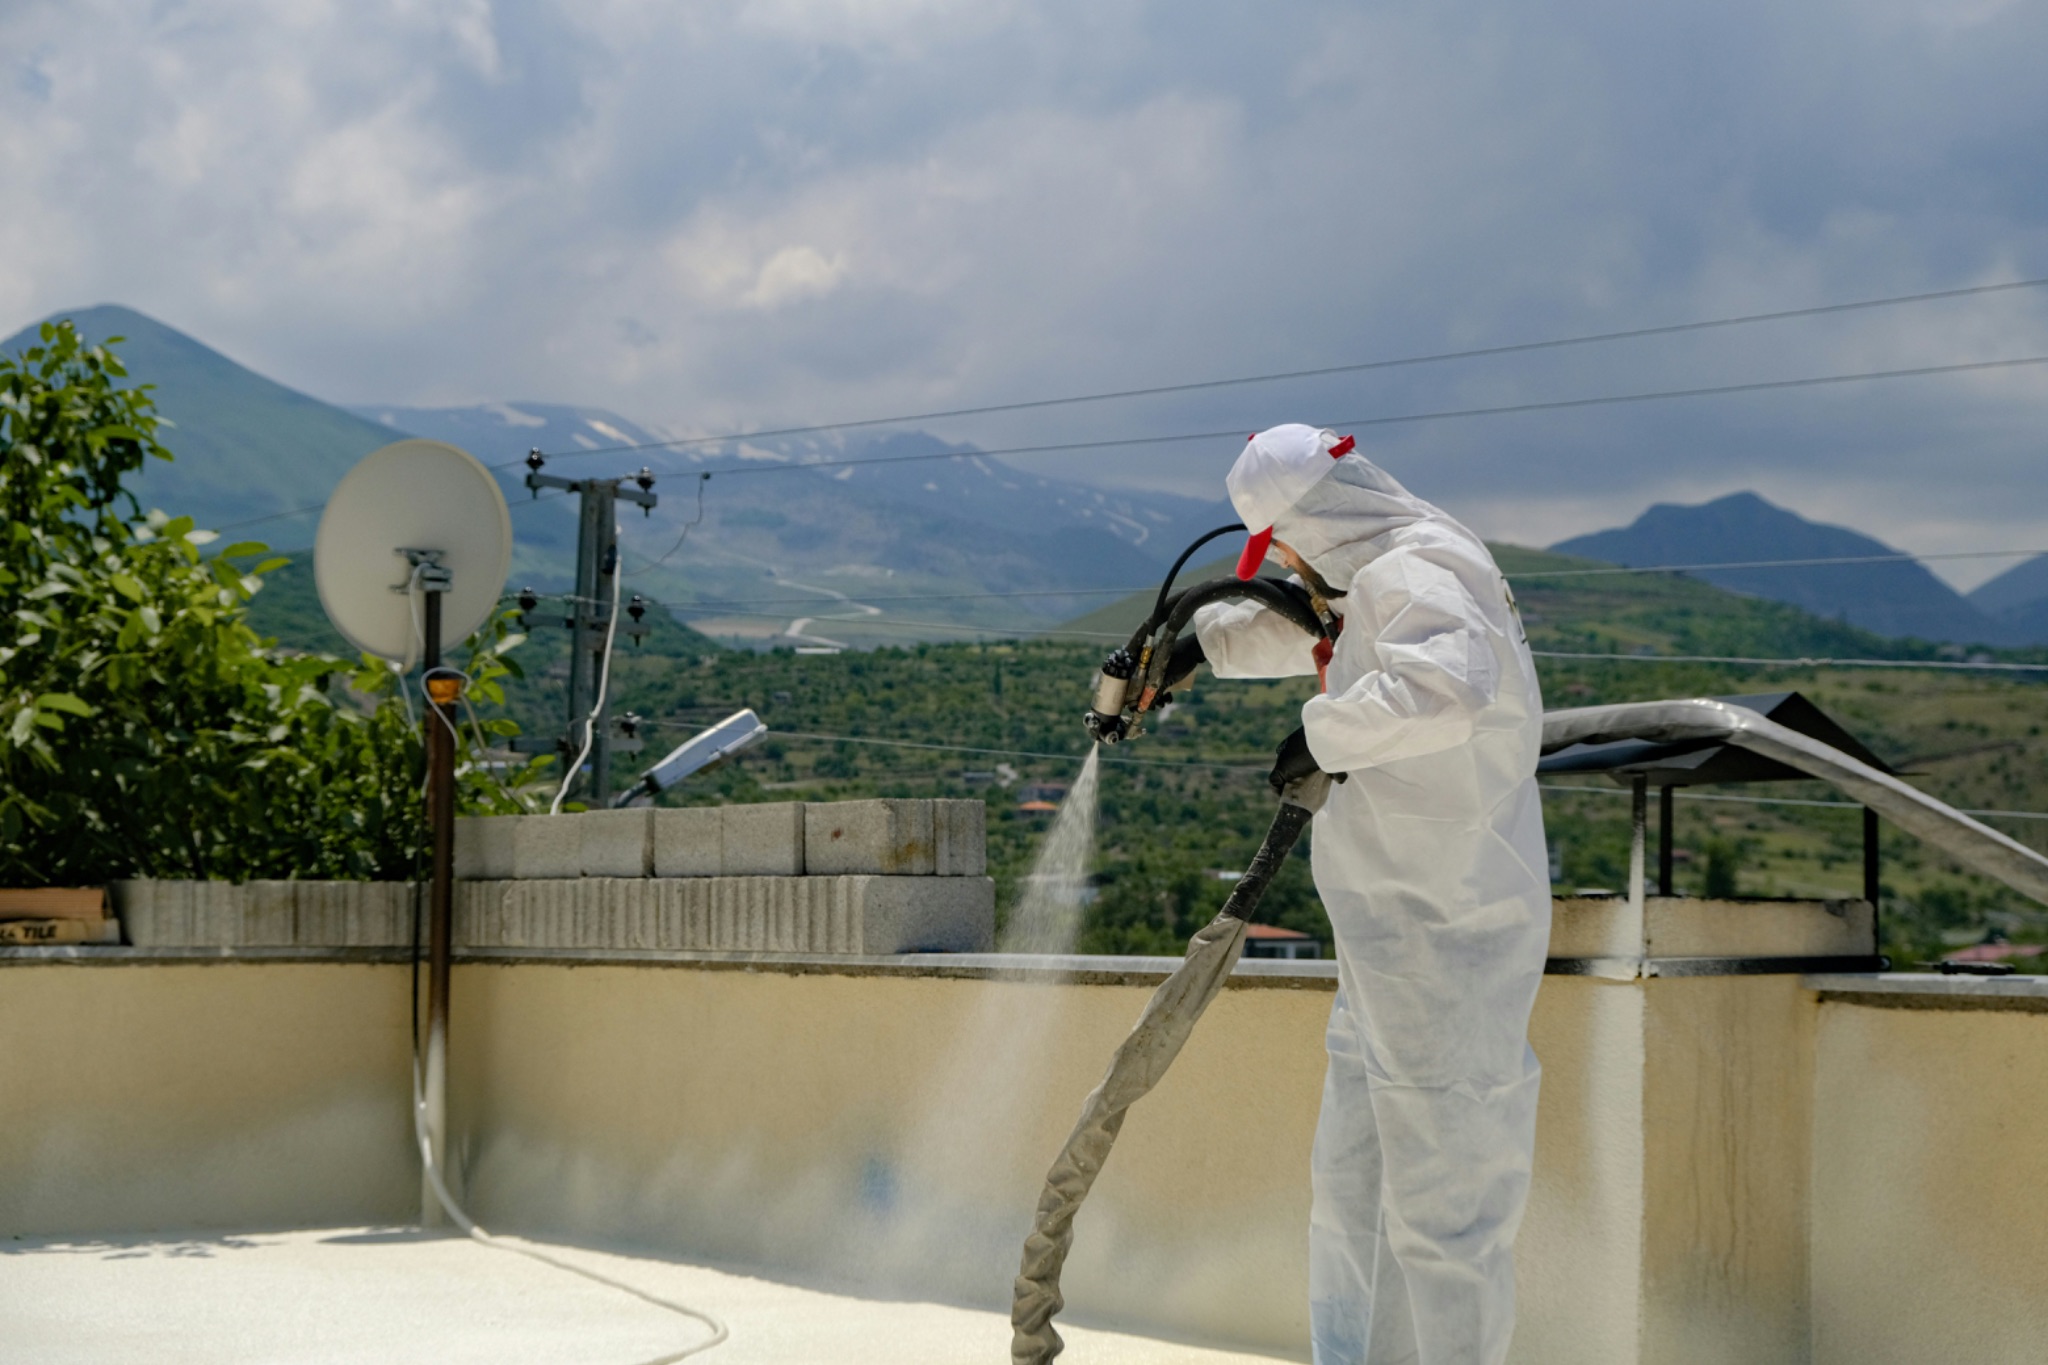
A liquid membrane is only as good as the surface under it. Put it over dust, moisture, cracks, or crumbly concrete, and you’ll likely see poor adhesion, bubbles, peeling, and eventually leaks. Before you open the tin, check for these five problems.
There’s Still Dust, Dirt, or Debris
Anything loose stops the membrane from gripping the substrate. Wipe a section with a clean cloth. If it comes away dusty, or old paint rubs off easily, the surface needs more work. Go over it with a stiff brush, a vacuum, or mechanical equipment. Oil, grease, and other residues have to go too, since they interfere with bonding. Even a thin film of dust can weaken the bond across a large area.
The Substrate is Too Wet
Some liquid-applied products tolerate a damp surface. Others need properly dry concrete. The manufacturer’s technical data sheet tells you which one you have, so don’t assume. A quick check is to tape a square of plastic sheeting to the slab for a day and see whether condensation forms underneath.
If there’s an active leak, deal with it before coating. If moisture keeps coming up from below, get professional advice. Sealing damp concrete under the wrong membrane often causes blistering and adhesion failure.
Cracks and Damage Haven’t Been Repaired
Cracks, holes, chipped edges, and uneven patches break the continuity of the waterproofing layer. A liquid membrane can bridge minor imperfections within its stated limits, but it isn’t a substitute for repairs.
Look closely at corners, joints, drains, and pipe penetrations. Determine whether a crack is stable or still moving, because moving cracks usually need proper joint treatment. Fill defects with compatible materials and let them cure as directed. If cracking is serious or keeps returning, have a qualified professional take a look.
The Concrete is Weak, Powdery, or Flaking
If the layer underneath is falling apart, the membrane has nothing solid to bond to. Powdery concrete, peeling old coatings, and flaking cement are all red flags.
Scrape suspect areas to see what comes loose. A hammer tap test can help, since a hollow sound points to a weak or detached layer. Cut out unsound sections and patch them with a compatible repair product. Don’t coat over weak spots, because the membrane will peel away along with the damaged surface. If deterioration is widespread, get the substrate assessed first.
The Surface is Uneven or Drains Poorly
Deep dips and sharp ridges make it hard to achieve an even membrane thickness. Low spots also hold water, and prolonged ponding may be more than the system was designed for.
Lay a straightedge across the surface and watch how water moves over it. Fix major irregularities and set the right fall toward the drains before applying liquid waterproofing membrane. Pay extra attention to floor-to-wall junctions, corners, and drain outlets.
Wrapping Up
Read more: Building Inspections: What Hidden Defects Can Cost You Later
A surface that looks ready isn’t necessarily ready. Make sure it’s clean, sound, and repaired, and that moisture and temperature are within the product’s limits. Then follow the specified primer, coverage rate, thickness, curing time, and reinforcement details. Fix any of these problems first. When conditions are uncertain, check the data sheet and talk to a waterproofing professional. A little time spent on preparation can save you expensive repairs later.
